How to Patch a Hole in Plasterboard
Right, true story. Mate of mine in Mayfield rented out his place for a few years, got it back from the tenants, and the spare-room wall had what he described as “a small mark”. Turned out the small mark was a 40cm wardrobe-shaped hole punched through the Gyprock by a removalist who’d swung a chest of drawers around a corner like a cricket bat. Insurance wouldn’t cover it because the tenants had moved out two months earlier. Quote from a plasterer was $480 for the patch and repaint. I did it on a Sunday morning for the cost of a $5 plasterboard offcut, a tub of setting compound, and a couple of timber battens out of the offcut bin at Bunnings.
Plasterboard repair is the home-owner skill with the highest “looks-impossible-but-isn’t” ratio in the trade. Whether it’s a doorknob hole, a kid putting a foot through the wall, or a removalist taking out a corner — the fix is the same set of techniques scaled up or down. Our team patches dozens a month and a properly done patch is invisible after paint. Here’s the method, sized to the hole you’ve got.
What you’ll need
- A sharp utility knife and a sharp jab saw (drywall saw)
- A small piece of Gyprock plasterboard sheet — an offcut from Bunnings or a plasterer’s bin, $5 will do most jobs
- Setting compound — Cornice cement or Easy-Sand 45 sets fast, preferred over premixed for repairs
- A 100mm and 200mm taping knife
- Paper drywall tape or fibreglass mesh tape
- 120 and 240 grit sandpaper, sanding block
- A short offcut of timber batten as backing — 70×35 pine is ideal
- 32mm drywall screws
- Primer and your wall paint for finishing (Bristol, Dulux, whatever matches)
Step 1: Match the method to the hole size
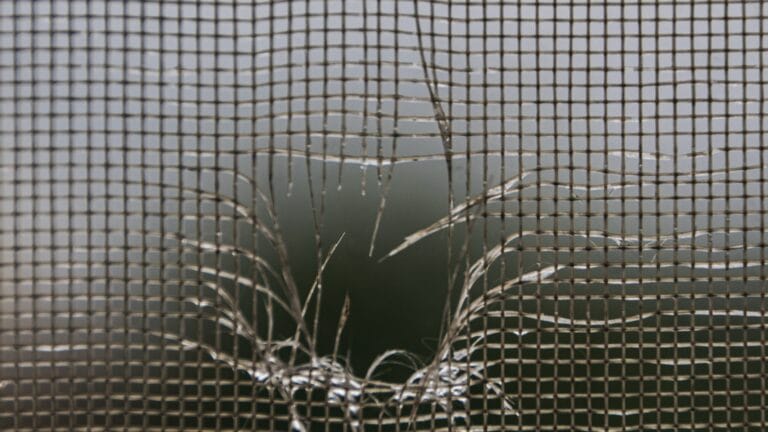
Three sizes, three methods. Pinhole to 5cm: filler only. 5cm to 15cm — that’s your doorknob hole — use a California patch or peel-and-stick metal patch. 15cm and bigger: cut-out and replace with a fresh piece of Gyprock. Doing a too-small fix on a big hole always cracks within a year because the filler can’t bridge the unsupported span.
For really big jobs over 30cm — say a foot-through-the-wall — have a look at our patch large plasterboard hole guide which steps through the timber-bracing version.
Step 2: Small holes — clean, fill, sand, paint
Slice off any loose paper around the hole with a utility knife — you want a clean edge, no flapping bits that’ll telegraph through the paint. Fill with setting compound using a 100mm knife, leave it slightly proud. Once dry (45 minutes for Easy-Sand), sand flat with 240-grit on a sanding block. Prime, paint. 15-minute job for a screw hole or picture-hook puncture.
Step 3: Doorknob-size holes — California patch method
This is the trick that makes 5–15cm holes invisible. Cut a piece of Gyprock 5cm bigger than the hole on every side. Score and snap the back paper, leaving the front paper as a flange. You now have a small piece of plasterboard with a paper “skirt” around it. Stuff the patch into the hole — the small piece fills it, the paper skirt sits flush against the surrounding wall like a flange.
Spread setting compound over the paper skirt with a 200mm knife, feathering wide. Two more coats once dry, sand flat, prime, paint. The patch is structurally as strong as the original wall because the paper flange is doing what tape would do.
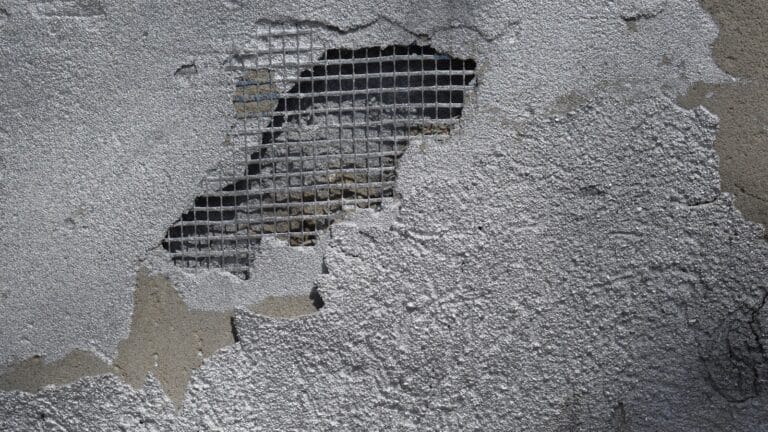
Step 4: Big holes — cut a clean square first
Take a pencil and square. Mark a clean rectangle around the damaged area, well beyond any cracking. Cut along the lines with a sharp jab saw — go slowly, keep the cuts square. You now have a clean rectangular hole. Common mistake: cutting a wonky shape because “no one will see”. The compound and tape work much better on straight edges, and a wonky cut leads to wonky patch lines after paint.
Listen mate, before you cut, run a stud finder across the area — you want to know if there’s wiring or a stud right behind where you’re sawing. Slicing into a power cable is how a DIY plasterboard job becomes a $600 sparky callout. Our stud finder guide covers the technique.
Step 5: Add timber backers behind the hole
Cut a piece of pine batten about 10cm longer than the hole height. Slip it inside the hole, hold it tight against the back of the existing plasterboard, and drive two screws through the wall into the batten — top and bottom — so its anchored. Repeat on the other side of the hole. You now have two timber backers spanning the hole, ready to take screws.
The why: without timber backers, the patch is held in by tape and compound alone — fine for small patches, not for anything load-bearing or anywhere it might get bumped. Backers turn a patch into a permanent repair.
Step 6: Cut a plasterboard plug to fit
Measure the hole and cut a piece of Gyprock a few millimetres smaller on each side so it slips in. Score the front paper with a utility knife, snap the board across a straight edge, snap the back paper — clean cut. Test-fit the plug into the hole. If it’s too tight, score and snap a thin strip off one edge.
Step 7: Screw the plug into the timber backers
Hold the plug in place and drive two screws into each backer. Drywall screws should sit slightly below the plasterboard surface — not deep enough to break the paper, just dimpled. The plug should sit flush with the surrounding wall, not proud, not recessed. If it’s recessed, you’ll need extra compound to bring it up. If it’s proud, you’ll be sanding forever.
Step 8: Tape the seams
Apply setting compound along each seam between the patch and the existing wall. Press paper drywall tape (or mesh tape if you prefer — paper is stronger, mesh is easier for beginners) into the wet compound, smooth flat with the 100mm knife. The tape is what stops cracking from showing through the paint as the house breathes through the seasons.
Step 9: Three coats of compound, each wider than the last
First coat: cover the tape, 100mm knife. Let dry. Second coat: 200mm knife, feathering wider. Let dry. Third coat: very thin, 300mm if you have one, feathering further still. Each coat dries faster on setting compound (genuinely 45 minutes for Easy-Sand 45; premix is several hours). Sand lightly between coats with 120-grit, final sand with 240-grit.
Common mistake: trying to do it all in one thick coat. Thick compound cracks as it dries. Three thin coats, each wider than the last, feathered out — that’s the difference between a patch you can see and one you can’t.
Step 10: Prime, paint — and patience for the texture match
Always prime before painting a patch. Bare compound absorbs paint very differently from the surrounding primed wall and you’ll see it for years if you skip this. Once primed, paint with the same wall paint (Bristol, Dulux or whatever you’ve got), two coats, feathered into the surrounding area. If the rest of the wall has a roller texture, use the same nap roller for the patch — short rollers leave smoother finishes that don’t match a long-nap textured wall. For touch-up matching, our touch up wall paint guide covers the technique for blending into existing finishes.
When to call a tradie
Plasterboard patching is genuinely DIY work. But there’s a few situations to flag for a pro plasterer or carpenter. Anything bigger than half a sheet (1200×900mm) usually means there’s something structural going on behind — cut joists, wet rot, or a frame issue. Ceilings — gravity makes ceiling patches harder and a bad ceiling patch shows from every angle. And any wall around a wet area (bathroom, laundry) needs the right wet-area board (Gyprock Aquachek or similar) — don’t use standard board near a shower.
Common screw-ups
- Filling a 15cm hole with putty alone — cracks within a year because there’s no structural support
- One thick coat of compound instead of three thin ones — cracking as it dries
- Skipping the primer before paint — patch shows for years as a different sheen
- Cutting into a stud or cable without checking with a stud finder first
- Using a smooth roller on a textured wall — patch is visible from across the room
Cost & time
Materials are dirt cheap — a $5 offcut, $15 tub of setting compound, $3 tape, paint you’ve already got. Total under $30. Time-wise it’s a job that spans 24 hours because of dry-between-coats, but actual hands-on time is 90 minutes for a doorknob hole, three hours for a foot-through job.
Wrap-up
Match the fix to the hole. Filling a 15cm hole with putty is the most common reason patches crack and the most common reason home owners pay a plasterer $400 to redo it. Cut it square, back it with timber, screw a plug in, three thin coats of compound feathered wide, prime and paint. Twenty minutes more work and it lasts forever. The wife won’t even spot the patch — and that’s the gold standard, mate.