How to Cut In Paint Edges Like a Pro (No Masking Tape)
Masking tape is a confession. Every time I pull up to a job and see a ceiling cornice already taped, I know two things — the homeowner has tried before, and the tape is going to bleed regardless. There’s no such thing as paint-proof tape on a textured Gyprock surface. Acrylic creep finds the high points of the cornice texture and crawls under, and you peel the tape off to find a fuzzy bleed line that’s worse than no tape at all. I had a job in Coburg three years ago where the owner had taped the entire perimeter of the lounge, painted, and pulled the tape to find every cornice corner was a fuzzy mess. We scraped, sanded, repaired the cornice, and cut in by hand.
The fix is the cut-in. Loaded brush, steady wrist, eye on the leading edge. Done well, a freehand cut-in line is sharper than tape, faster than tape, and doesn’t peel off the cornice paint when your done. I cut in 95% of the rooms I paint without a single inch of tape — its technique, and you can learn it in a Saturday. Trust me on this.
This article is specifically about the most common Aussie cut-in: flat acrylic ceiling paint meeting low-sheen acrylic wall paint, against a cove cornice on Gyprock. Slight twist that almost nobody mentions — in Aussie homes the cut-in line sits about 2 mm below the cornice shadow, not against it. Cove cornices have a curved profile that shadows naturally, so your eye reads the shadow as the line. Cutting 2 mm below makes the line invisible. An old painter named Ray taught me this on my apprenticeship in Footscray, and twenty years on it’s still the best painting advice I’ve ever been given.
What you’ll need
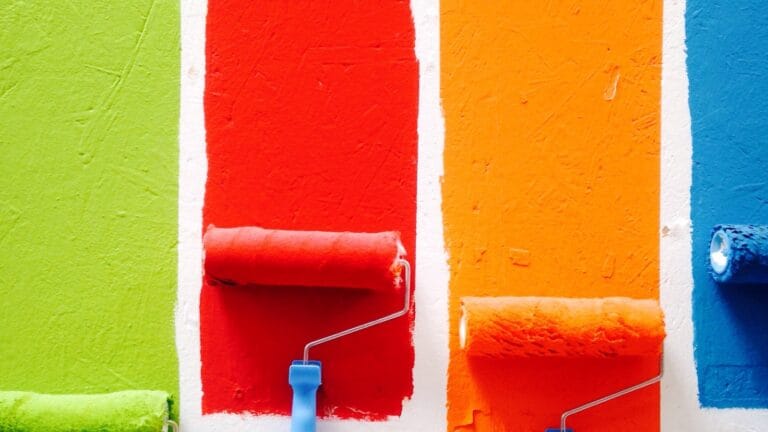
- A 50 mm angled sash brush — Wooster Shortcut, Purdy XL Glide or Oldfields Pro Series ($25–$45). Synthetic bristle for water-based paint.
- A small 2L paint kettle with a handle (not the tin) — Bunnings $6
- A clean dry rag for beating off and brush care
- The wall paint, freshly stirred for 60 seconds
- A sturdy step ladder — not a kitchen chair
- Decent light. Open the curtains, turn the room lights on. A torch on a chair for raking light.
Step 1: Prep the brush

A new synthetic brush still has loose bristles and sometimes a touch of factory oil. Run it under the tap, work water through it with your fingers, then squeeze it dry into a rag. Now its primed for water-based paint and the bristles will lay paint cleanly. Skip this with an oil-based brush — those want mineral turps prep instead. The first time you load a fresh Purdy after a metho prep, you’ll feel the difference. The paint flows where you want it.
Step 2: Load the brush correctly
Pour about 200 ml of paint into the kettle — never paint from the tin, it dries the rim and contaminates the rest. Dip the brush in to about a third of the bristle depth. Press one side of the brush against the inside of the kettle to wipe excess off. Repeat for the other side. The brush should be loaded but not dripping — if you walk it five steps and a drop hits the floor, beat it off harder. Definately worth the extra ten seconds.
Step 3: First pass — paint 1 cm in from the line
Climb the ladder. Place the brush flat against the wall about 1 cm below where you want your final line, and lay down a stroke of paint about 30 cm long. Don’t try to hit the line yet. This is the “reservoir” pass — it puts paint on the wall that you’ll then walk up to the cornice in the second pass. Heres where most people go wrong: they try to nail the line on the first pass, the brush is too loaded, and the paint floods the cornice.
Step 4: Second pass — walk the bristles up
Without reloading, turn the brush so the angled tip is uppermost. Place the long edge of the angle parallel to the cornice, with the tip aimed at where you want the line. Now drag sideways slowly. The bristles will splay slightly and the very tip will lay paint right where you want it. If you go too high, you’ll see the paint touch the cornice shadow — that’s your sign to drop down 2 mm and continue. Slow drag, eye on the tip.
Step 5: Mind the 2 mm gap below the cornice
Look at the cornice from a few metres away. Notice the shadow line where the curve starts? That’s what your eye reads as the “line”. If your wall paint goes right up to the cornice, the shadow disappears and the cornice looks flat. Stay 2 mm below the shadow start. The wall paint and the ceiling/cornice paint never need to actually touch — the 2 mm gap is the same colour as the cornice anyway, so its invisible from the floor and saves you a whole lot of grief.
Step 6: Work in 1 metre sections, wet-on-wet
Don’t try to do a full wall in one breath. Cut a metre, climb down, move the ladder, climb up, do the next metre. Always overlap your last 100 mm into the previous wet section so you dont get a join line. If a section dries before you get back to it, you’ll see a lap line forever — the join shows in raking light, and morning sun through the lounge window will spotlight it. Plan your route around the room.
Step 7: Corners — top first, then sides
For an internal corner where two walls meet a cornice, cut the cornice/wall line on each wall first, leaving the actual corner till last. Then cut the vertical corner with the brush flat in the corner, walking down. The vertical corner is the hardest line to keep straight because your eye uses the cornice as a reference. Dont worry about matching the line perfectly with the meeting wall — the corner shadow hides any 1–2 mm misalignment.
Step 8: Skirting boards — same technique, inverted
Skirtings are the same job upside down. Load the brush, paint a line 1 cm above the skirting, then walk the brush down to leave a 2 mm gap above the skirting top. The 2 mm rule applies here too — if the skirting is timber-stained or gloss-white, you want a tiny shadow gap. If you cut paint right onto the skirting top, the wall colour drops the perceived skirting height and the room reads weirdly proportioned. For the full trim routine see our paint trim and skirting boards guide.
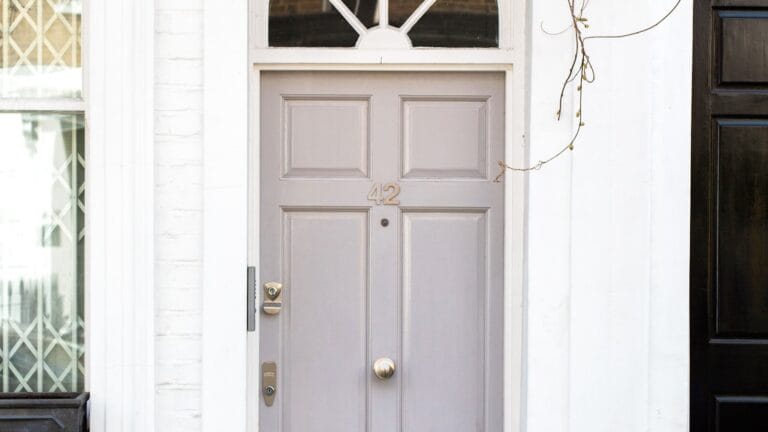
Step 9: Around architraves and switches
Switches and architraves are the only place I’ll occasionally tape — a single strip of Frog Tape on the architrave edge gives you a hard line you can paint into without worry. For switches, unscrew the cover plate, cut the wall paint right to the back box, refit the cover plate at the end. Looks ten times better than painting around the cover. Don’t paint over the screw heads either; wipe them off with a damp rag before the paint dries.
Step 10: Inspect in raking light, fix in the morning
Once the wall is done, turn off the room lights and shine a torch along the cornice line at a shallow angle. Any drips, lap lines, or wandering edges show up immediately. Mark them with a pencil tick on the wall. Tomorrow, when the paint is fully dry, hit each mark with a touch-up using the same loaded-brush technique. Never try to fix a wet cut-in by going over it — youll just smear the line and create a new mess. For the full touch-up method see our touch up wall paint guide. Brush care between sessions: wrap the bristle head in cling film for breaks under an hour; Ziploc in the fridge for up to 3 days. Wash properly only at the end of the job. Toby once chewed a Purdy I’d left on the bench when I forgot to wrap it — costly mistake.
When to call a tradie
Cutting in is genuinely a learnable Saturday skill. But there are surfaces where the prep is beyond DIY before you even pick up a brush. If the existing paint is pre-1970 and flaking, your potentially dealing with lead — sanding it without containment is a real health risk, particularly for kids and pregnant household members. Get a Bunnings lead test swab ($15) and if positive, call a professional. Same for any wall containing fibre-cement or asbestos sheet (1940s–80s Aussie homes) — never sand or scrape, ever. And big render repairs or major plasterboard damage need a real plasterer first; paint won’t bridge a moving crack. AS 2311 is the painting-of-buildings standard we work to, and APAS-certified products are the safe bet.
Common screw-ups
- Over-loading the brush. Paint floods the cornice and the line wobbles. Beat off harder.
- Trying to nail the line on the first pass. Brush is too wet, you lose the line. Reservoir pass first, walk up second.
- Letting one section dry before joining the next. Lap line forever. Work wet-on-wet, 1 metre at a time.
- Painting up against the cornice instead of 2 mm below. Cornice reads flat. Stay below the shadow start.
- Cheap brush. Bristle fluff in the paint, lost line. A good Purdy or Oldfields lasts ten years if you look after it.
Cost & time
$40 for a decent angled sash brush, $6 for a kettle, $4 for a rag — call it $50 of kit you keep forever. Time: cutting in a 4 m × 4 m lounge cornice plus skirting takes 90–120 minutes for a confident hand, 2–3 hours your first time. Beats four hours of taping and another hour of touching up tape bleed.
The Jen rule — wrap
Tape teaches you nothing. Cutting in by hand teaches you to look at the line — really look — and that skill transfers to every painting job you’ll ever do. The first wall is uneven, the second is okay, the third looks better than tape would have. Twenty years of painting and I havent taped a cornice since 2007. The brush is the tool. Trust the angle. And dont be afraid of the cut-in — its the most satisfying part of the job once you’ve got the wrist for it. Got a paint job that turned out beautiful? Send us a write-up.